
Why does a car battery lose its charge?
A lead-acid car battery self-discharges naturally, even parked and unused, losing roughly 1 to 2 % of its capacity per day depending on its technology. On top of that come the standing loads that keep running with the ignition off (alarm, clock, electronic memories), and cold weather, which slows the internal chemical reactions and can cut available capacity by 30 to 50 % below 0 °C (32 °F).
The real trigger is often usage patterns: a string of short trips never gives the alternator enough time to make up for the energy the starter motor draws, so the battery drains gradually over weeks without anyone noticing, until the morning the engine simply won't turn over.
How to charge a car battery with a charger, step by step
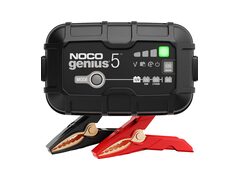
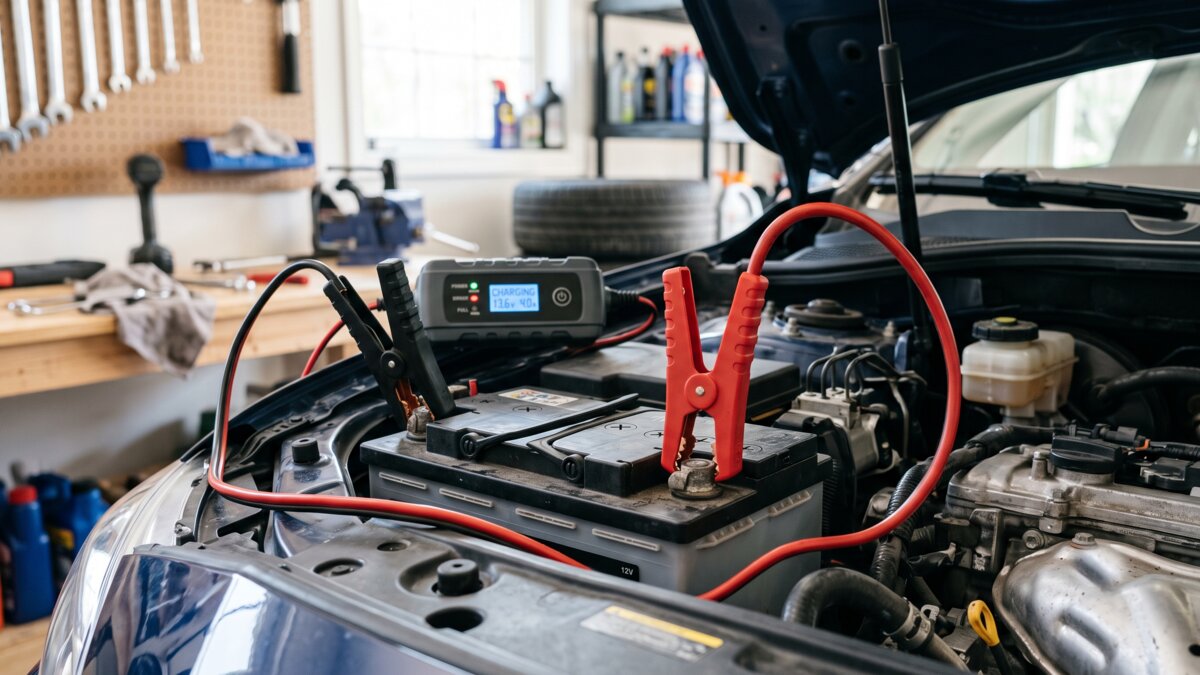
Charging with a mains charger stays the gentlest method for the battery, worth choosing whenever the car doesn't need to be driven right away.
- 1. Switch off the ignition and identify the terminals. Find the positive terminal (+, usually red, sometimes under a plastic cap) and the negative terminal (-, usually black, wired directly to the car's bodywork).
- 2. Connect the positive clamp first. Attach the charger's red clamp to the battery's positive terminal, never the other way round: this is the order that matters most for avoiding sparks.
- 3. Connect the negative clamp to a metal earth point away from the battery. Use an unpainted part of the chassis or engine block, some distance from the battery itself, to reduce the risk of a spark near any gas it may be venting.
- 4. Select the right charging programme. Most modern chargers offer a mode per battery technology (standard lead-acid, AGM, gel, sometimes LiFePO4): picking the wrong one can undercharge or damage the battery over time.
- 5. Let it charge until it switches off automatically. Expect roughly 4 to 12 hours depending on how discharged it is; a smart charger switches to maintenance mode on its own once the battery is full.
- 6. Disconnect in reverse order. Remove the black clamp (-) first, then the red clamp (+), to minimise the risk of an accidental short between the two.
How to jump-start a car with a booster safely
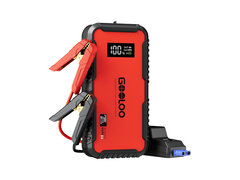
When you need to get moving right away, a jump starter saves time compared with a charger, at the cost of needing extra care with the connection order.
- 1. Check compatibility. Most consumer jump starters cover petrol engines up to roughly 6-7L and diesel up to 4-5L: beyond that, a more powerful professional unit is needed.
- 2. Connect the jump starter while it's off, engine off. Red clamp on the battery's positive terminal, black clamp on a metal earth point on the car (never directly on the battery's negative terminal, for the same safety reasons as with a charger).
- 3. Switch the jump starter on and try to start the engine. Turn the key for a few seconds at most: if the engine doesn't fire on the first try, wait a minute before trying again, without forcing it.
- 4. Disconnect in reverse order once the engine is running. Black clamp first, then red clamp, with the engine still running.
- 5. Drive for at least 20 to 30 minutes. The alternator needs that time to partially recharge the battery; starting the engine and switching it straight back off doesn't solve anything lasting.
How to test a car battery's condition
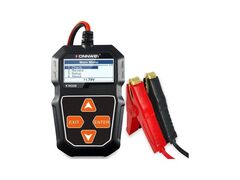
A basic multimeter already gives a first read: engine off for several hours, a reading of 12.6 to 12.8 V signals a full battery, below 12.0 V it's heavily discharged. But that resting voltage says nothing about the battery's real ability to deliver the high current a starter motor needs.
A dedicated battery tester (a load tester or an electronic conductance tester) goes further: it evaluates the battery's actual state of health (often shown as a percentage or in CCA, cold cranking amps), not just its voltage. It's the right tool for deciding whether a battery deserves a recharge or a straight-up replacement.
How to disconnect a car battery safely
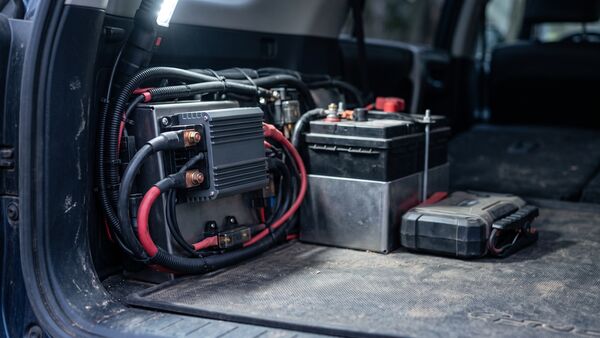
Whether it's for a replacement, extended vehicle storage, or winter lay-up, the order in which you disconnect the battery protects both it and the car's electronics.
- 1. Switch off the ignition and remove the key. Check that nothing electrical is switched on (headlights, radio, fan).
- 2. Always disconnect the negative terminal (-) first. This is the reverse of the connection order: taking off the negative earth first limits the risk of a short circuit if a tool accidentally touches a metal part of the car during the job.
- 3. Then disconnect the positive terminal (+). Move the clamp well clear of the terminal to avoid any accidental contact.
- 4. Store the battery somewhere frost-free if it's been removed from the car, ideally on a maintenance charger if it will sit unused for more than a few weeks.
The signs it's time to replace your battery
Certain signals point to a battery reaching the end of its life rather than a one-off discharge that just needs recharging:
- The starter motor struggles or turns over slowly several mornings in a row, especially in cold weather.
- The battery is over 4 to 5 years old, the average lifespan of a standard lead-acid battery under normal use.
- A battery tester reads a state of health below 70-80 %, even straight after a full charge.
- The battery goes flat again within just a few days of a full charge, a sign it's no longer holding its charge properly.
- Whitish corrosion or a swollen, bulging case is visible on the terminals or housing.
The mistakes that cause sparks and short circuits
Other common mistakes to avoid: reversing the polarity (+ and -), which can damage the car's electronics instantly; letting the charger's or jump starter's clamps touch each other during the job; trying to charge a battery that's visibly swollen, cracked or leaking, a case that calls for immediate replacement rather than a charging attempt.